


Overview
The User Profile service
application stores information about users in a central location. Social
computing features use this information to facilitate productive interactions
which enable users to collaborate efficiently. In order to provision My Sites,
enable social computing features such as social tagging and newsfeeds, and
create and distribute profiles across multiple sites and farms, you must enable
the User Profile service application.
How to do
1. Create
new User Profile Service Application

2. Fill
information: Name, Application Pool

3. Make
sure User Profile Service Application Proxy is started

4. Make
sure User Profile Service and User Profile Synchronization Service are started

5. Go
to central admin >> Application management >> under Service Applications
click to Manage service applications >> choose User Profile Service
Application then click Manage on ribbon

6. Click
to Configure Synchronization Connection

7. Click
to Create New Connection

8. Fill
information:
a. Connection
Name: name
b. Forest
name: your forest name
c. Account
Name: user have delegate permission

9. Click
Populate Containers button and choose some users

10. Create
Connection successfully

11. Go
to central admin >> Application management >> under Service
Applications click to Manage service applications >> choose User Profile
Service Application then click Manage on ribbon >> click to Start Profile
Synchronization
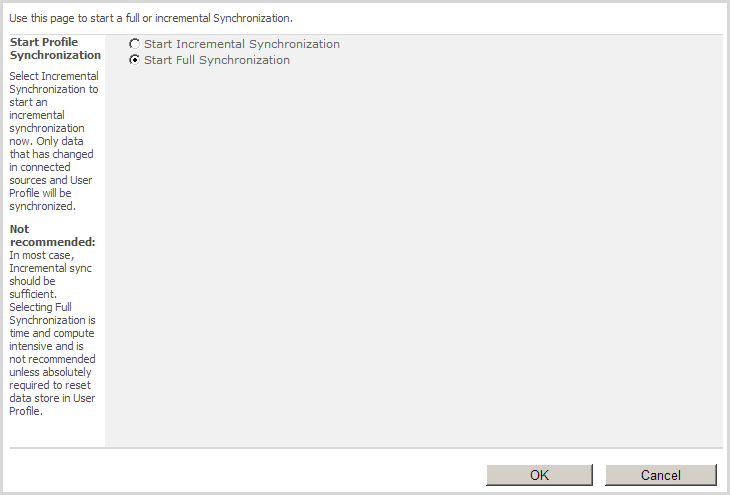
12. Start
Full Synchronization

13. Done

14. Go
to central admin >> Application management >> under Service
Applications click to Manage service applications >> choose User Profile
Service Application then click Manage on ribbon >> click to Manage User
Profiles to view all users

15. All
users

16. Export
user properties to Active directory: Go to central admin >> Application
management >> under Service Applications click to Manage service
applications >> choose User Profile Service Application then click Manage
on ribbon >> click to Manage User properties

17. Choose
Name >> click on Context menu >> Edit

18. Remove
Import, then Add new Source data connection
a. Source
data connection: your domain
b. Attribute:
displayName
c. Direction:
Export
Then click add and result as

19. Try
edit display name of any user

20. Plus
more text into Name

21. Start
Profile Synchronization again

22. Start
Full Synchronize

23. Display
name is exported to Active directory successfully

0 comments:
Post a Comment