ĐÀO TẠO DOANH NGHIỆP : SỞ KHOA HỌC CÔNG NGHỆ TỈNH ĐỒNG NAI

ENTERPRISE TRAINING: DONG NAI DEPARTMENT OF SCIENCE AND TECHNOLOGY.

HÌNH ẢNH TẬP HUẤN LỚP SHAREPOINT WORKFLOW VÀ KIẾN TRÚC SHAREPOINT

PHOTOS OF SHAREPOINT WORKFLOW AND ARCHITECTURE CLASS.

HÌNH ẢNH TẬP HUẤN LỚP SHAREPOINT WORKFLOW VÀ KIẾN TRÚC SHAREPOINT

PHOTOS OF SHAREPOINT WORKFLOW AND ARCHITECTURE CLASS.

Tuesday, September 10, 2013

Manage Admin site of sharepoint 2013 online

This is Admin site
Start designing your website in Office 365 to publish your website, after publish the website click to the manage your publish site
Here is your address
Click here to continue configure
Click start step 2
Do follow the guide then click OK done
Click to Start step 3
Do follow the guide then click OK done

Click to Start step 4
Choose No then click to Close for now if you don’t want to change your domain
Click to view service status and see status of service
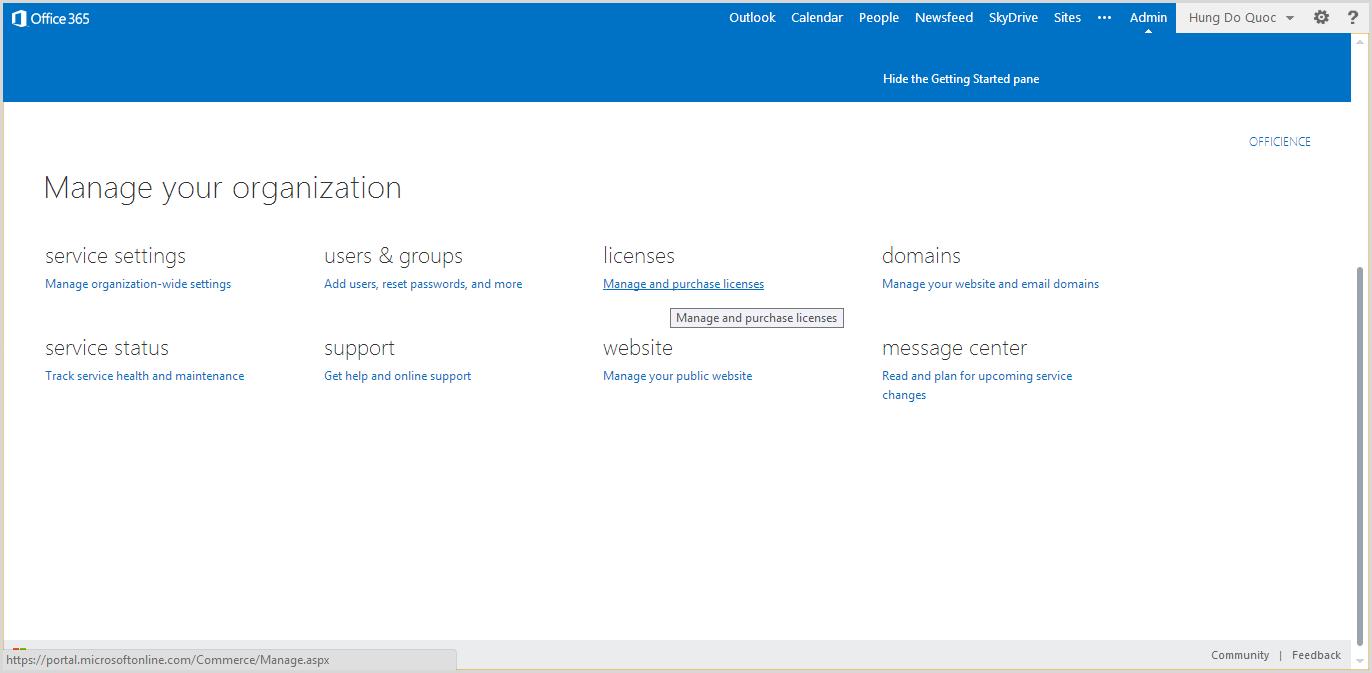
Click to see licenses

Here is my licenses

Click here to create group…

Click to group then click + Icon

Configuring follows as then click Next

Add member to group
Don’t input and click to search
Choose user then click Finish
Click to user then click + Icon
Input information
Configuring follows as:
Click Next
Click Create
Click Finish
Go to your publish website and login with phanthi.yen@OFFICIENCE.onmicrosoft.com and password Vaso6756 then system require change password
After change password, login again with new password. This is website portal

The End !!!

Get started with office 365 (sharepoint 2013 online)

Get started with office 365 (sharepoint 2013 online)
Login to your site
This is home page which I designed
This is menu of admin
This is Left navigation
This is Page content (Webpart)
This is Ribbon Tab to setting page
Go to Setting >> click to Site contents
This is site content
Go to Setting >> click to Site settings
This is site setting
At site setting >> Look and Feel category >> click to Title, description, and logo to change something
Changing: Title, Description …
Now we go to create document, list, … Go to Setting >> click to Add an app

Click to Document Library

Input name then click OK
Upload new document
Continue create new Sharepoint List >> Go to Setting >> click to Add an app but cannot see the custom list app

How to solve:
Go to setting >> site settings >> at Site Actions category >> click to Manage site features
Click to Active “Team Collaboration Lists”
Adding app again we will see custom list and a lot of app…
Now we create Announcements, Calendar, Discussion Board, Survey, Wiki … then go back home page Edit Page
Adding webpart
Here is webpart list, you can add any webpart
After add webpart, my home page follows as:

The end !!!