3. Click tab Midsize businesses and enterprises
4. Fill full information (you can search zip code for state exam: zip
code california), then you click button check availability
5. Enter ID for Email … and Click I accept and continue
6. After create Finish, User Interface below
7. How to create User by click to Users
8. Click combobox New | User
9. Enter First name, Last name, Display name and User name, then
click Next
10. On Assign role is default (check no), Set user location: VietNam
(freedom) and click Next
11. Click Next
12. Click Create
13. Click Finish
14. Result (List User max is 25 user)
15. This is your Address sharepoint online
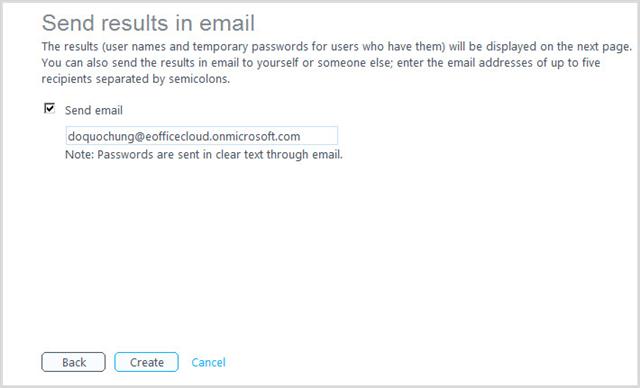
16. You can Reset Password (click a user then click Reset password)
17. Click Reset password and automatic send mail for Author
18. Click Finish
20. Require change password
21. After change password, you sign in again
22. Error appear, because current user don’t add to sharepoint online,
you sign in with administrator permission (click sign in as a different user)
23. Enter account administrator
24. Sign in successful
25. How to add user into sharepoint online: Click Site Action | Site
Setting
26. Click People and groups
27. Select Group Owners (with Full Permissions) | New | Add Users
28. Enter name | click OK
29. Click sign in as Different User
30. After User added to Sharepoint Online, now Sign in with that
account
31. Sign in successfull


0 comments:
Post a Comment