ĐÀO TẠO DOANH NGHIỆP : SỞ KHOA HỌC CÔNG NGHỆ TỈNH ĐỒNG NAI

ENTERPRISE TRAINING: DONG NAI DEPARTMENT OF SCIENCE AND TECHNOLOGY.

HÌNH ẢNH TẬP HUẤN LỚP SHAREPOINT WORKFLOW VÀ KIẾN TRÚC SHAREPOINT

PHOTOS OF SHAREPOINT WORKFLOW AND ARCHITECTURE CLASS.

HÌNH ẢNH TẬP HUẤN LỚP SHAREPOINT WORKFLOW VÀ KIẾN TRÚC SHAREPOINT

PHOTOS OF SHAREPOINT WORKFLOW AND ARCHITECTURE CLASS.

Friday, October 6, 2017

sharepoint 2010 Quick Parts Word

How to pull SharePoint 2010 document properties into Word (Quick Parts)

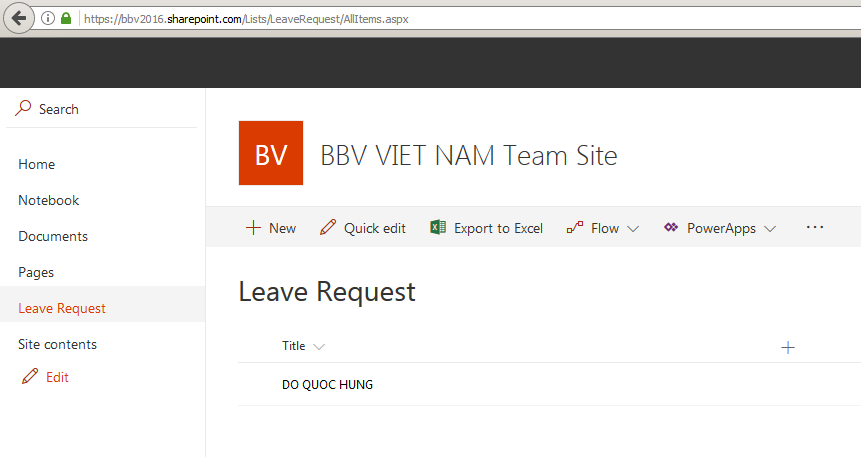
We use Shared Document library for this example, Create 2 columns is DisplayName and Province link below image

 Creating new word document with any content then save to template

 Go back to Shared Document library setting >> Advanced settings

 Click to Yes
 Click on "Document" content type
 Click to Advanced settings

 Upload your template here
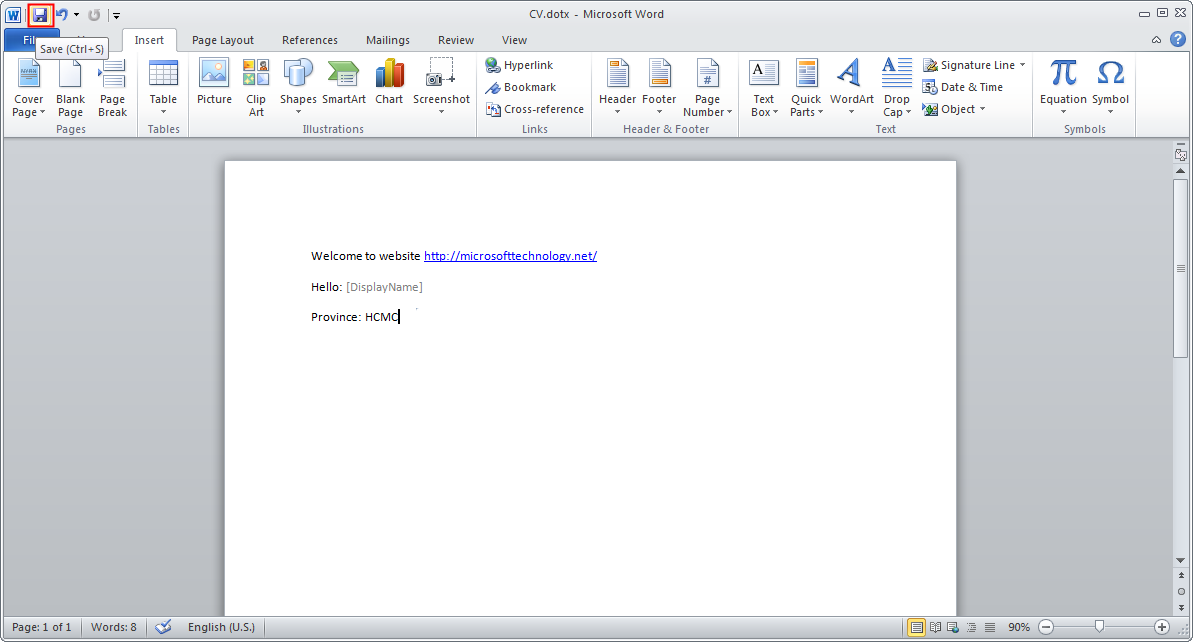

 Edit your template
Insert you content here then click to add Quick Parts

Choose Document property >> Display name

Doing the same with Province property

Save then close word

Click to OK

Go back Shared Documents >> New Document

Input some content then save
 Save to your location

Upload your document which it was created before

Here is document was uploaded with properties

Open document and you can see the document properties is mapped to ...


 Note: 
When you create the new properties and you want to map it to Quick Parts, do the same step "Edit your template" and map the new document properties to new Quick Parts then Save it. But remember that: you must create the new document to apply the new Quick Parts. If you edit the old document with new properties, you will not see the change.

Get start with SPO management shell using CSOM

      1.       Download SharePoint Server 2016 Client Components SDK at this link: https://www.microsoft.com/en-us/download/details.aspx?id=51679


      2.       Install it, it should be appeared at below:

      3.       Open your SharePoint site and create list “Leave Request”

      4.       Open SharePoint Online Management Shell

      5.       Enter the command then input your password:
Add-Type -Path "C:\Program Files\Common Files\microsoft shared\Web Server Extensions\16\ISAPI\Microsoft.SharePoint.Client.dll" 
Add-Type -Path "C:\Program Files\Common Files\microsoft shared\Web Server Extensions\16\ISAPI\Microsoft.SharePoint.Client.Runtime.dll" 
 
$siteURL = "https://bbv2016.sharepoint.com" 
$userId = "hungdo@bbv2016.onmicrosoft.com" 
$pwd = Read-Host -Prompt "Enter password" -AsSecureString 
 

      6.       Continue enter the command to display ID and title of list
$credentials = New-Object Microsoft.SharePoint.Client.SharePointOnlineCredentials($userId, $pwd) 
$ctx = New-Object Microsoft.SharePoint.Client.ClientContext($siteURL) 
$ctx.credentials = $credentials 
try{ 
    $lists = $ctx.web.Lists 
    $list = $lists.GetByTitle("Leave Request") 
    $listItems = $list.GetItems([Microsoft.SharePoint.Client.CamlQuery]::CreateAllItemsQuery()) 
    $ctx.load($listItems)       
    $ctx.executeQuery() 
    foreach($listItem in $listItems) 
    { 
        Write-Host "ID - " $listItem["ID"] "Title - " $listItem["Title"] 
    } 
catch{ 
    write-host "$($_.Exception.Message)" -foregroundcolor red 


      7.       Finished

Connect SharePoint Online using SharePoint Designer 2013

1    1.  Login to office 365 >> admin center https://portal.office.com/adminportal#/homepage then navigate to Office 365 > Admin  >  Admin Center  > SharePoint  > Settings . At custom script allow all option

1    2.       Download SharePoint Online Management Shell at this link: https://www.microsoft.com/en-us/download/details.aspx?id=35588&751be11f-ede8-5a0c-058c-2ee190a24fa6=True


1    3.       Install SharePoint Online Management then open it as administrator then input the command
Connect-SPOService -Url https://<youradmindomain>.sharepoint.com -credential admin@<yourdomain>.onmicrosoft.com
-Url  : Pass Sharepoint Online site url.
-Credential : Admin user Name/ Password (It will prompt screen for enter password).
Example:
            Connect-SPOService -Url https://bbv2016-admin.sharepoint.com -credential hungdo@bbv2016.onmicrosoft.com

1    4.       If have no any error, continue enter the command:

       Set-SPOSite -Identity https://<yoursitecollection>.sharepoint.com -DenyAddAndCustomizePages   $false
       Example: Set-SPOSite -Identity https://bbv2016.sharepoint.com -DenyAddAndCustomizePages $false

1    5.       Access to your site collection >> Site settings >> under Site Collection Administration then click to SharePoint Designer Settings

1    6.       Check to all checkbox if one of them not selected

1    7.       Download SharePoint designer 2013 then install then open it >> Open SharePoint Site >> enter your SharePoint site (https://bbv2016.sharepoint.com), type your email


1    8.       And type your password

1    9.       You will see error appear if you did not add your site to trust site of internet explorer setting

1    10.   Open Internet explorer >> setting >> internet options >> security tab >> click on Trust sites and add your site


1    11.   Reopen SharePoint designer 2013 then connect again, it should be successful

Finished


Register SharePoint 2016 Online (O365 Enterprise E3)

1)      Register SharePoint online (O365 enterprise E3) at below link:


2)      Next, enter your user ID and password


3)      Enter your phone number then click Text me


4)      Your phone will receive code, then enter code then Next

5)      Waiting to finish your registration

6)      Sign-in page: https://portal.office.com/ with your user ID and password. After sign in successful, you will see this page is setting up
 

7)      After finished to set up all, then click to Admin icon
 

8)      Admin center page here, then click to SharePoint under “Admin centers”
 

9)      This is SharePoint central admin, and list all site collections appear
 

10)   Access to first site collection (https://bbv2016.sharepoint.com), it will be displayed like below.
  

11)   Finished.