


In this article, we will
know how to setup and configure SQL Server 2008 R2.
Run file setup SQL
Server R2 | click link “Installation” | click link “New Installation or add
features to an existing installation”

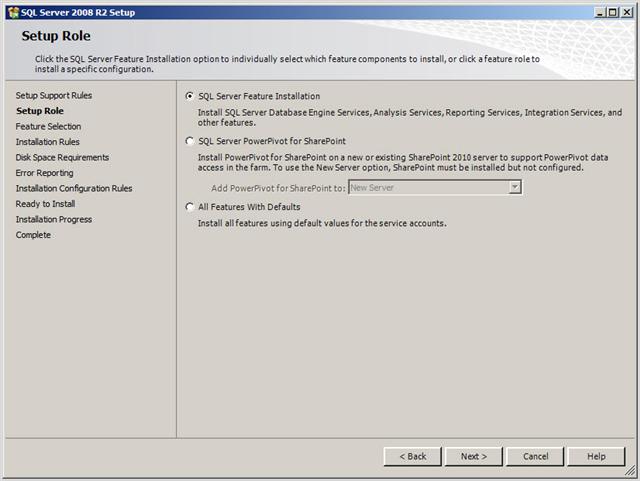
Set default | click Next

Check to “I accept the
license terms” and click Next

Click Install

Click Next

Set default and click
Next
Click button Select All
then click Next

Click Next

Choose radio button
“Named Instance” and enter Sharepoint then click Next

Click Next

Click button “Use the
same account for all SQL Server services”

Dialog box appear, Enter
account name and password then click ok and click Next

Click button Add Current
User

Click radio button
“Install the Sharepoint integrated mode default configuration” (Important)

Click Next

Click Next

Click Install

Wait processing

After setup finish,
click Close

Continue configure SQL
Reporting Services in SQL Server and Central Admin.

Click start | Expand
Microsoft SQL Server 2008 R2 | Reporting Services Configuration Manager
Dialog box appear, click
Connect

Click “Web Service URL”
link, then you can change port number to your web application and click apply
(should set default)

Result is connect
successfully

Click to your URLs link

Result below, you copy
link above address bar

Open Central Admin |
Click to “General Application Setting” link

In categories Reporting
Services | click to “Reporting Services Integration” link

Paste address which you
copied above to textbox, and choose Windows Authentication in Dropdownlist then
click OK

Result Reporting
Services is Actived

Go you web site | click
Site Actions | Edit Page

Click tab Insert | click
Web Part

In categories | choose
SQL Server Repoting…|SQL Server Repoting Services Report then click Add

Result below is
successful

0 comments:
Post a Comment